Interview: Synth DIY with Michaël Duerinckx
We’ve all felt it. You go to Google, type “EuroRack”, click “Images”, take in the madness and coolness, get depressed knowing how expensive it is to achieve those setups, and go back to recording your DIY beer-bottle panflute.
Michaël Duerinckx has nothing against panflutes but isn’t a big fan of beer. However, he’s pretty active in the Maker-culture which is basically the technical department of the DIY-communities out there. So what to do? Build your own, module-based synth, of course! We sat down and took a (long) talk with him about his project, listened to some demos, and looked at some photos he took during the build (which you can find in the gallery at the end of this interview).
– First of all, who are you, and what do you do?
My name is Michael Duerinckx, and, professionally, I work as a mobile app developer for Digitally Imported. In my spare time I like to tinker with electronics, specifically the kind that makes sound. Back in school, I did electronic engineering, having had an interest for it since my early teens. While completing my degree, I spent my spare time teaching myself programming though, and as fate would have it, that ended up becoming my career. Electronics was degraded back to a hobby. Over a few years of working, I moved to a bigger place to live, and started having the budget to kit out a bit, bringing electronics to the forefront of my spare time.
– Alright – and for the readers, Digitally Imported is an internet radio station serving mainly electronic music in many varieties. Is your working there a coincidence, or does your heart beat mostly for electronica?
I’ve always been a big fan of electronic music, though I listen to lots of other stuff as well. It’s certainly not a coincidence I ended up working there; at my last job I was always tuned in to DI while working, and that way happened to hear a job ad in the stream. The rest is history.
– Your teenage interests and your working professionally as a developer obviously make sense given their similar nature. So, in one, non-super-duper-technical sentence, just what the hell is it exactly that you’ve set out to build?
Oh my, that’s tricky. I have set out to build an audio synthesizer made out of independent modules, each with their own function, that lets you combine them in creative ways to produce any kind of sound you want, musical or otherwise.
I tried.
– Haha, right, and just to be clear, you’re doing everything from scratch? From buying the knobs and buttons, doing the breadboard design, and soldering all the bits and pieces yourself?
More or less, though I don’t feel fully comfortable with “from scratch”, it feels dishonest. At the very basis, I look up existing circuit diagrams online, and end up mostly using those on Music From Outer Space (also known as MFOS), by the late Ray Wilson. Roughly my process for making a module is as follows:
- Look up existing circuit
- Build a prototype of the circuit on a solderless breadboard and test it, making any adjustments where needed. Usually these adjustments are in component values, because my power supply differs from the norm (but I digress).
- Once I’m happy with the prototype, design a printed circuit board (PCB) layout for the circuit
- If it’s complex, have it manufactured using one of the countless manufacturers that’ll do prototype runs; if it’s simple and only needs a single side, manufacture the board myself
- Solder the components onto the board and do any testing/calibrating;
- Design a front panel for the module (usually in Inkscape)
- Take my design to my local makerspace, which has a laser cutter; cut it
- Solder wires to potentiometers and solder tags for the banana sockets (it always surprised me just how big of a job this turns out to be)
- Install potentiometers, switches, and banana sockets in front panel, attach PCB to front panel
- Install the finished module into the enclosure
– Ok, so that actually spawned a few questions, out of pure curiosity. When you say “If it’s simple, manufacture it myself”, do you mean using wires, or like, an actual acidification process? And for panels, are there manufacturers for these as well?
For the PCBs, I actually manufactured a single-sided PCB myself (that is, copper on a single side of the board). I buy copper-clad board that comes with a photosensitive coating. I print my copper layout design on transparent sheet with a standard laser printer. This transparent sheet then goes on top of the photosensitive layer of the board, and spends some time in a UV-light box. The board then goes into a developer solution, which eats away all the photosensitive material that was exposed to light (that is, the parts that were not obscured by toner on the transparent sheet). After that, it goes into an etching bath, which eats away all the exposed copper. What’s left is copper where I had black toner.
I usually do this at the makerspace because they have a better UV lightbox than my shoddy home-made one.
– Wait, you actually built a UV lightbox yourself to manufature your own boards as well?
I did, it consists of two pretty standard tube light fixtures, a wooden box, and a sheet of glass. All stuff I could easily find on ebay. The light distribution in the thing is quite bad though, so my results with that one tend to be frustrating if the board isn’t tiny.
– And obviously, you have to dig deep into what you learned in elementary school about Ohm’s law when calculating resistors and doing voltage dividers I guess.
A little bit; most of the electronics knowledge I actually use for building synthesizer things so far has been about operational amplifiers (they’re used a lot) and of course Ohm’s law.
Circling back to your question about the front panels: I’m aware there are companies out there that will make your custom front panels for you, but I’ve never really used them. At one point, before our makerspace had a laser cutter, I made use of RazorLab’s services (the UK equivalent to ponoko.com) to laser cut some acrylic for me. They don’t specialise in front panels though, just custom laser cutting. The results were great, but it was really quite expensive.
I didn’t want to spend that much money on front panels, so I decided to come up with some temporary ones. For this I used spare aluminium plate which I (kind of roughly) cut to size using a handheld circular saw. I then printed my front panel design on transparent sheet. I taped the transparent sheet to the aluminium plate and then used a drill press to cut the holes. It looked quite rough up close, but really did the trick. The transparent sheet stayed on as I installed potentiometers and whatnot, serving now just for any labeling and other markings for the module.
– Ok, so about the end product. You mentioned it being a synthesizer with independent modules. When all this comes together, are we talking about an end product much like the EuroRack modular synths?
In honesty, I haven’t really imagined an end product per se. I think I’ll call it done when the enclosure is entirely filled up I suppose. But yes, I want to have all the essential kind of modules in there that you find in a lot of synthesizers. It’ll be quite similar indeed, although it doesn’t follow all of the EuroRack standards – Just the module dimensions and mounting.
– But would it be possible to actually use this with specific EuroRack modules?
No it wouldn’t. At the very beginning, I made the (rather foolish) decision to use +-5V for my power source. EuroRack uses +-12V for all its modules. Because of that, my system is very much incompatible with actual EuroRack. My choice of power supply voltage is also the reason I’m having to make so many adjustments to circuits I find online. On one hand, it was a silly decision, but on the other hand, it’s forcing me to gain a somewhat deeper understanding of the circuit than I otherwise would have.
– There’s something beautiful about learning in general, I guess you’re not complaining about that. But that actually means you’re bound to build modules yourself, if you’re in need of, say, an LFO, Envelope or Chorus module?
Indeed. One of the reasons I got into this project was to deepen my understanding of analog electronics, so I’m certainly not complaining. It does mean I’m bound to building modules myself, which was the aim from the beginning. So overall, no harm done.
If I ever start a next enclosure, I’ll quite likely follow the EuroRack standard though, so I could combine DIY and premade. Or hey, who knows, release my own module(s) out into the wild!
– Smells like a business venture to me!
I won’t rule it out, but certainly nothing for the near future.
– The answer to this might be obvious, but does your current collection of modules also feature a MIDI interface? And, can you give me an overview of what your synth is capable of so far?
The MIDI input module was the very first module I built (save for the power supply). In fact, the MIDI in module contains the most of all of my own design. Right now the synth contains:
- MIDI input module with gate/trigger outputs, single frequency control voltage (1 Volt/octave) output (so single note at a time), and 4 assignable parameter outputs. Currently they’re assigned to MIDI parameters modulation, pitch bend, velocity, and volume. Each of these 4 outputs has a depth knob as well.
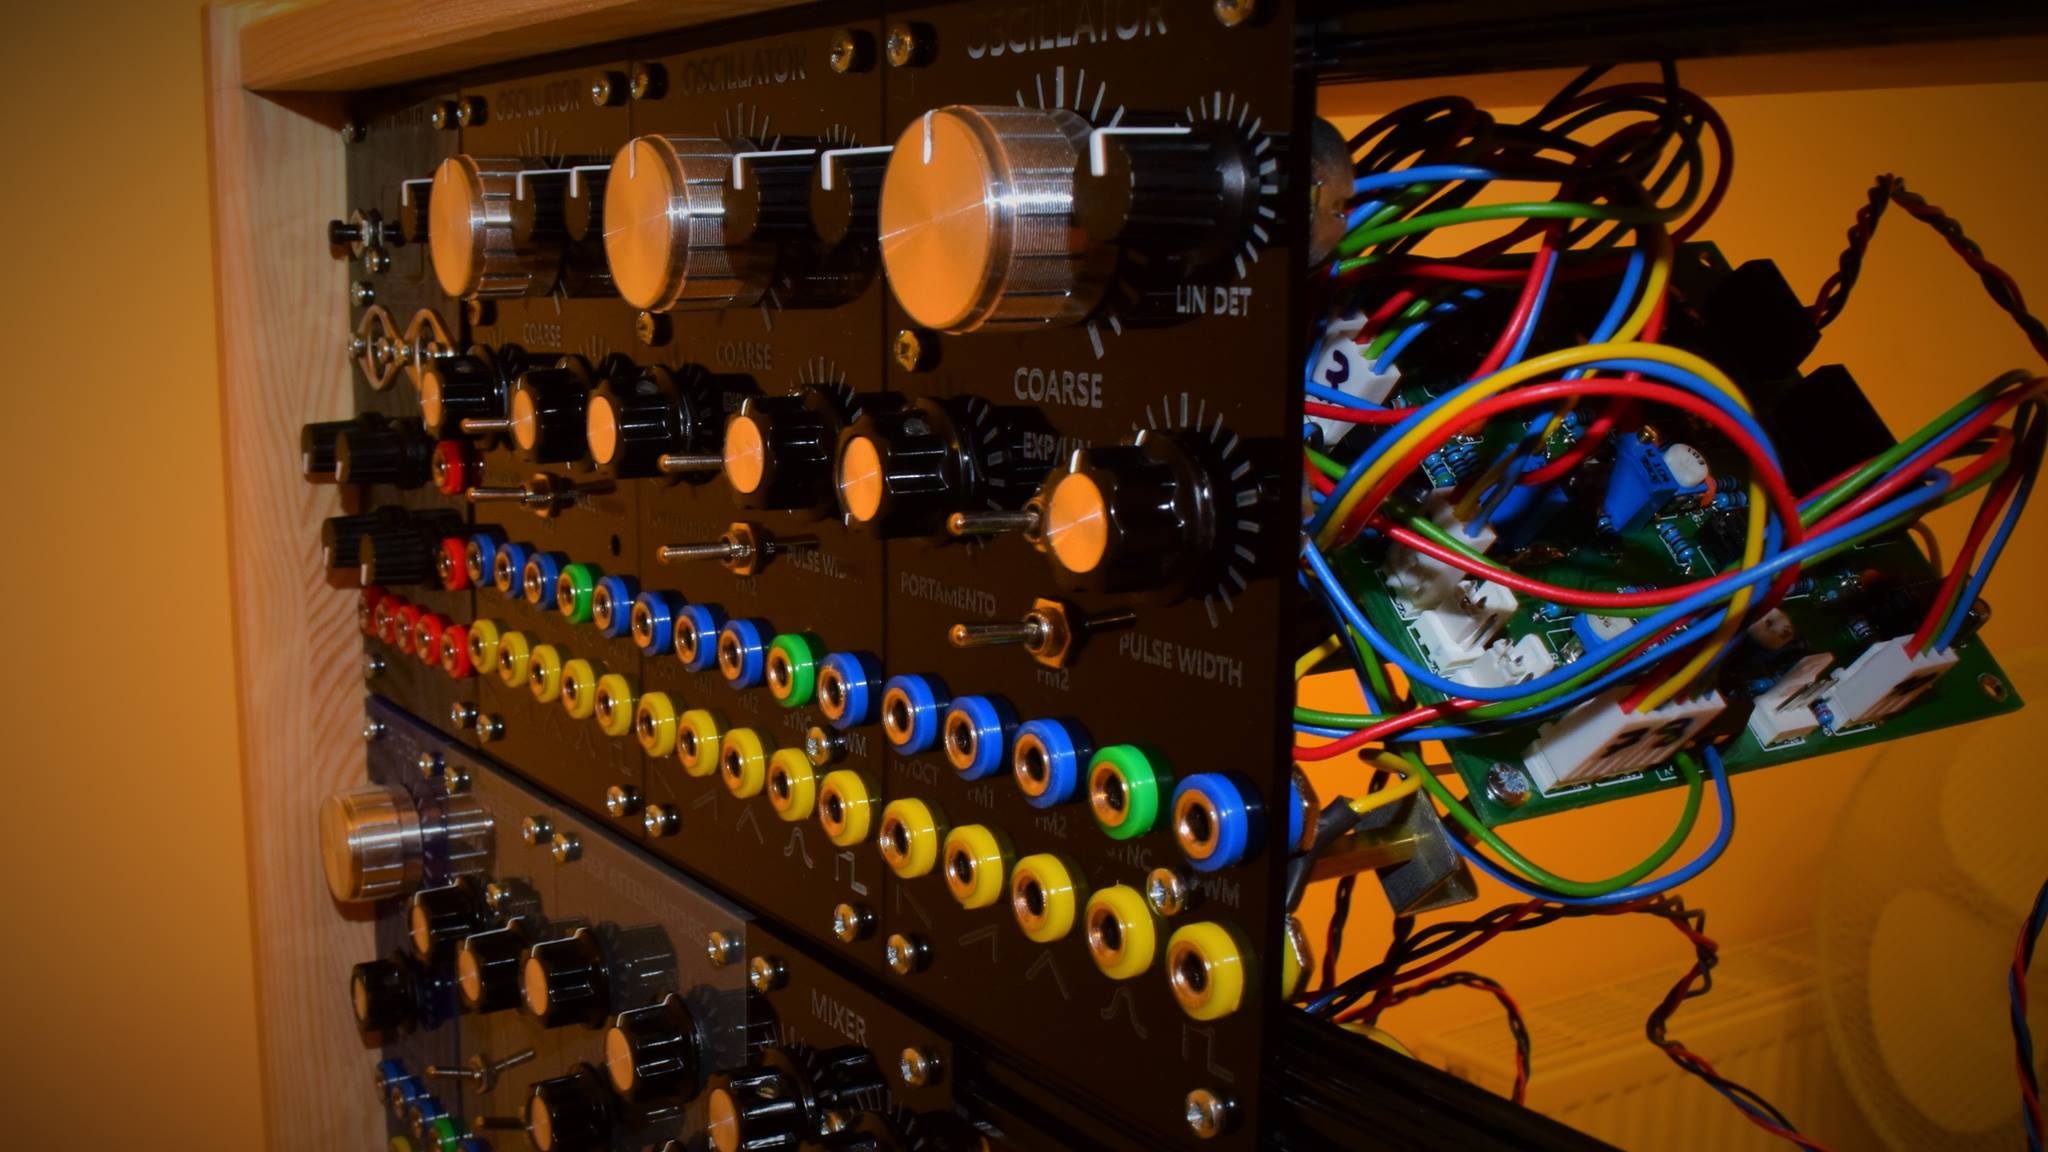
- Oscillator (x3): The oscillators feature a 1V/Octave input for use directly with the MIDI input, 2 frequency modulation inputs, which can be switched to an exponential or linear response, a synchronize input (restarts the wave in response to another wave on that input), and pulse width modulation input. It outputs a saw, inverted saw AKA ramp, triangle, sine, and pulse wave. Pitch can be set with coarse, fine, and linear detune knobs. They also feature a portamento length knob (slide time between pitch changes), as well as the base pulse width knob.
- A filter: features cutoff and resonance control, a 1V/Oct input (for keyboard tracking), 2 modulation inputs for external cutoff control, an audio input, and the low pass, band pass, and high pass outputs.
- Dual amplifier: One signal input, one signal output each, two modulation inputs, and a base amplification setting knob. There is also a switch to change the modulation response between linear and logarithmic.
- 6x attenuator bank: This is a pretty simple one, you route a signal in and out, and have a knob to control the depth of the signal. For instance, if you use one oscillator to add vibrato to another, you can route the lower frequency one through an attenuator to control how far the pitch will swing.
- 2x 4 channel mixer: Another simple one, this mixes signals together into a single one. The volume of each signal can be individually controlled, as well as the volume of the sum of the signals.
- Control voltage helper: Yet another simple one. This module provides convenient access to -5V, 0V, and +5V, and also provides 3 outputs where you can turn a knob to get any voltage in that range. Useful for routing to several modulation inputs and controlling them with a single knob.
- Audio out: Allows connecting banana plugs to 1/4″ sockets for L/R mono and a stereo one as well
Now that’s a description of each module I’ve made so far… A lot of things are possible with it, but not, for instance, making a plucky sound. It’s possible to turn the sound output silent when you release a key though, which already makes it quite playable on keyboard.
[Dramatic pause while taking in the amount of hours that must have been spent learning, building, soldering…]
.
.
.
.
– Mandatory question: Just a brief guesstimation, how many man-hours have you put into this?
Uhh.. I’m going to say at least ~300 hours? I only started properly early this year.
– And with all the electric components, knobs, material for panels, wires and so on, how much would you say you’ve spent on this set of features so far?
Hard to say, I’m going to throw in a guess and say somewhere around £1000-£1500.
– One for the synth “nerds” then: For now its quite an east coast direction you’re taking. any interest in west coast features?
I suppose the modules I’ve made so far are fairly standard musical-wise. It’s very possible to make abstract noises though, if that’s what you’re referring to. I’m definitely interested in making some wave shaping modules; in fact, MFOS has a “wave freaker” module that does some interesting things, so I’ll likely end up having a stab at that one.
– Your synth has a MIDI module, multiple oscillators, Cutoff/resonance filter, stereo output and so on. You OBVIOUSLY have a small, audible demo for us, yeah?
I have several laying around, some mostly musical, some rather abstract. Give me a minute!
– No problem. We understand it’s work in progress, so whatever you feel comfortable sharing!
Here is a musical one using all 3 oscillators for a bit of a detuned fat effect, also playing with filter and portamento: Demo!
Some breathing-esque LFO things (more abstract): Demo!
Bell-like sounds, using the VCA: Demo!
Some 60’s sci-fi sounding bloops, inspired by 2001: A Space Odyssey:: Demo!
And one of my favorites: testing the limits of some of the components, purposefully glitching it up: Demo!
Using [redacted DAW] to send out MIDI.
– Haha! Redacted DAW isn’t a Propellerhead product I ever heard of! Don’t worry, we’re not purists here. This is all amazing, Mich, really. We’re impressed to say the least. What is a feature you are looking forward to implement/build?
The one I’ve just started working on today is pretty exciting: an Attack/decay/sustain/release envelope generator. That’ll really allow me to shape the sound. Other than that, I’ve managed to save a little spring reverb tank from the dump at the makerspace, and I’m quite excited about making a reverb module with that.
– Amazing stuff, Mich. Can’t wait to see how this project progresses, so make sure to keep us updated! On a final note, do you have something you want to add, maybe some advice for aspiring makers out there?
More practically: take some time to learn the basics of electronics, invest in a breadboard and a bit of stock in common components (plenty of kits around). Start building some simple circuits, and work your way up. For a first synth project, MFOS’ “Weird Sound Generator” would be a good bet. Also, look up if there’s a maker- or hackerspace in the city nearest to where you live, and go check it out. Nothing like like-minded people to get you into building our own stuff. It tends to be a great atmosphere full of people who are happy to teach what they know to their peers.
I have to note that I am hugely inspired by Ray Wilson of Music From Outer Space. He only quite recently passed away, and I find it only fitting to simply forward his advice:
Keep imagining, keep inventing, stay ingenious!
Ray Wilson, Music From Outer Space
Huge thanks to Michaël for taking (quite) some time out of his schedule to talk with us about some of the nitty-gritty behind-the-scenes stuff that is synthesis. It’s easy to take for granted what actually goes on behind the panels of a synthesizer, or buried deep within the 0s and 1s of a softsynth. There’s something charming about physically manipulating the electric currents that make up the output of any given device. And with a good amount of patience, this is something you can in fact start doing in the comfort of your home office chair.
Please take a moment to enjoy the gallery!


